 English
 简体中文
 Español
 Français
 Português
 Indonesian
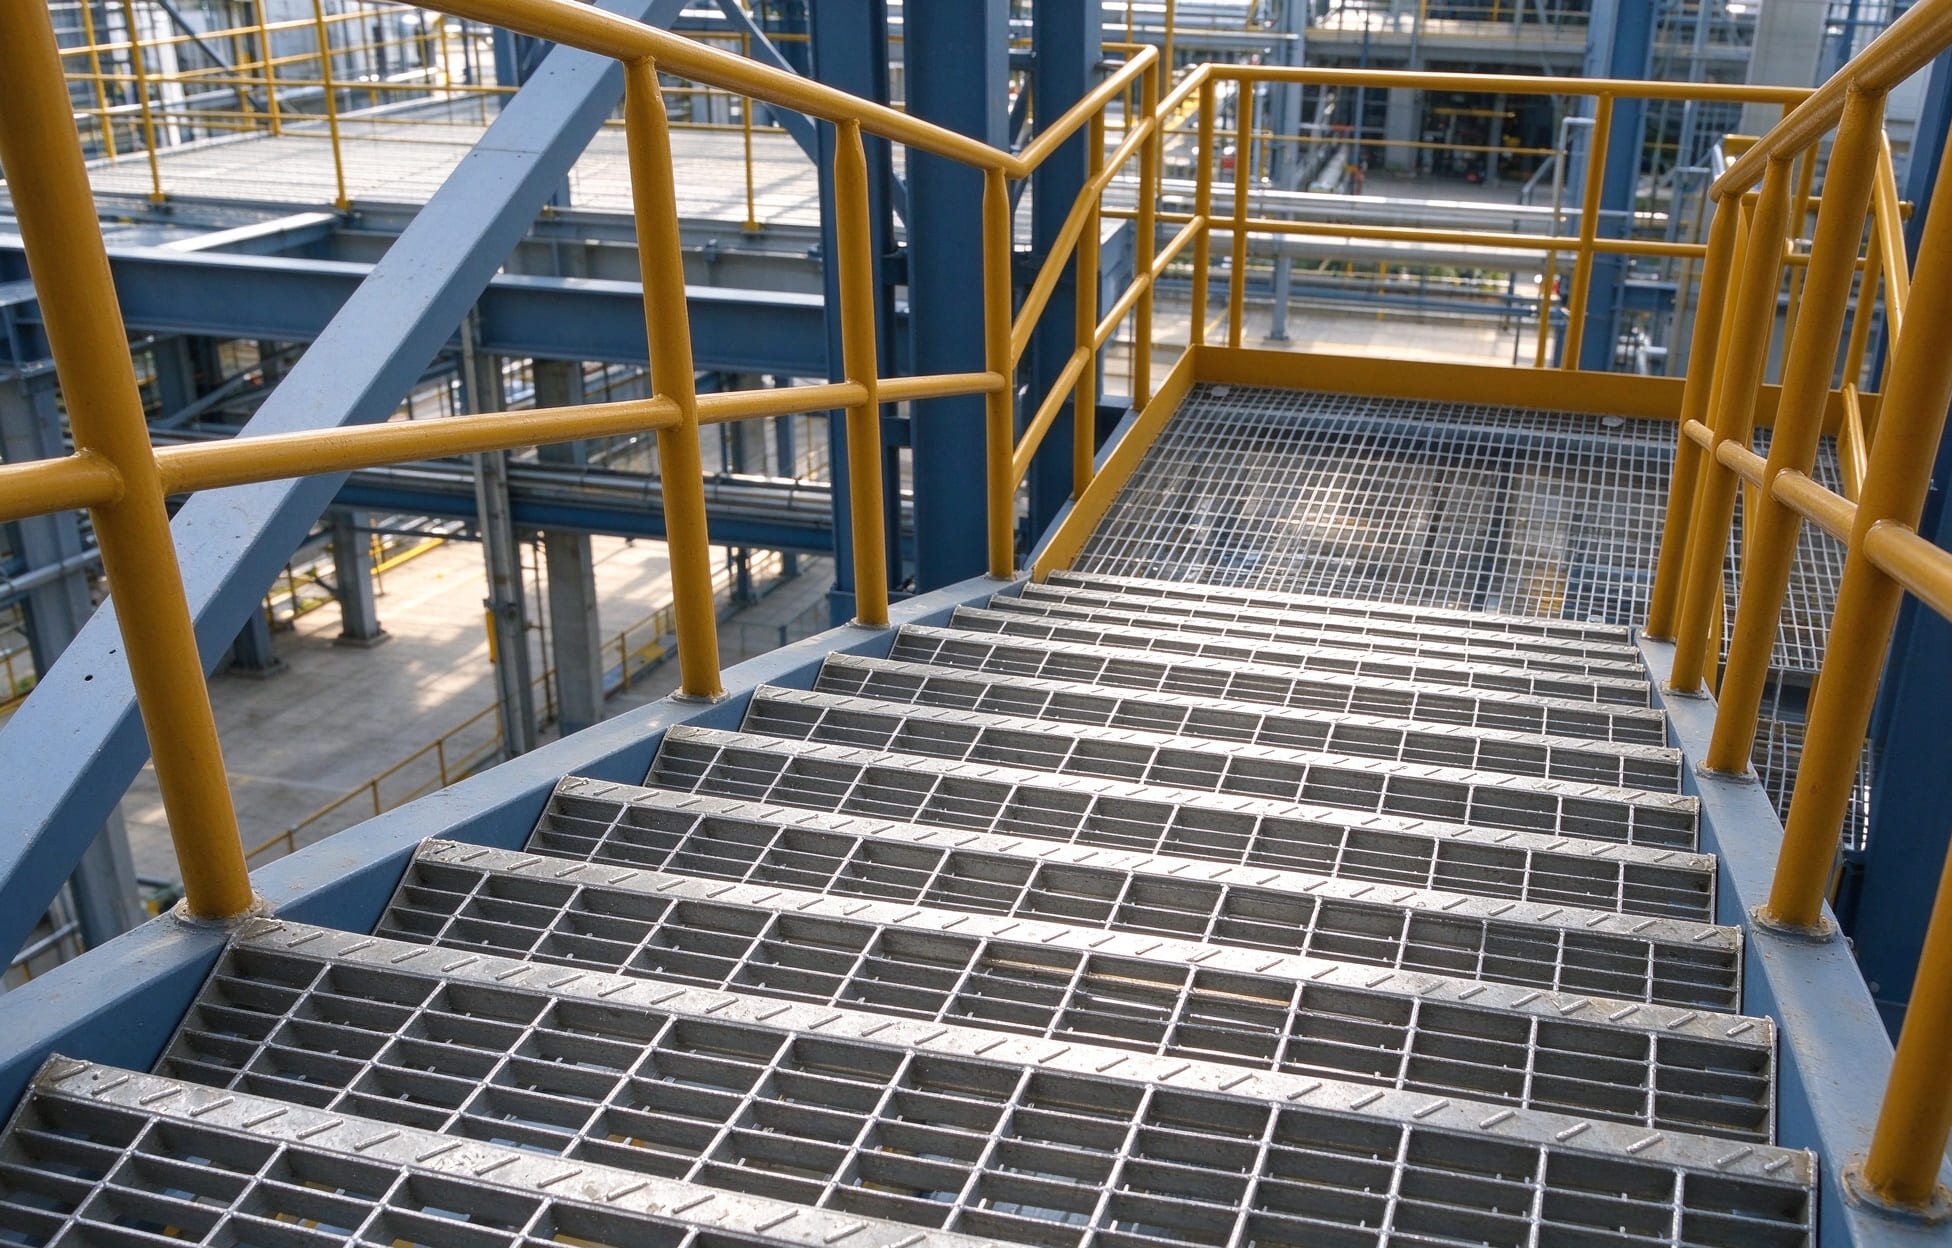
Installing steel grating stair treads may seem straightforward – just fix the treads to the stair stringers. But in practice, every step requires attention. How securely, evenly, and safely the treads are installed directly affects their comfort and service life over time. This article breaks down the entire installation process, from preparation to final inspection, covering every step in detail.
1. Preparation Before Installation
Good preparation accounts for at least half of the installation quality.
1.1 Verify drawings and materials
Read the layout drawings and packing list carefully before installation. Match each numbered tread to its corresponding position on site. Do not unpack or mix parts randomly – this will only cause confusion on site. Start from the middle and work outwards within each area, completing one area before moving to the next.
1.2 Inspect the stair stringers (support structure)
The flatness and stability of the treads depend largely on the stringers underneath. Check the following:
- Whether the stringer dimensions and tolerances meet design specifications
- Whether the stringer surface has weld spatter, burrs, or oil stains – clean them off in advance
- Whether the spacing between stringers matches the tread width
- Whether the stringers are on the same plane – excessive height differences will cause treads to be unsupported or unevenly loaded
1.3 Prepare tools and safety equipment
Prepare tools according to the installation method:
- For welding installation: Welding machine, electrodes, face shield, angle grinder
- For bolting installation: Electric drill, wrenches, screwdrivers, spirit level
- General tools: Spirit level, measuring tape, marker, chalk line
- Safety gear: Cut-resistant gloves, hard hat, safety harness (essential for working at height)
2. Step-by-Step Installation Process
Step 1: Layout and marking
Mark the exact installation position of each tread on the stringers according to the design drawings. Use a spirit level to check the flatness of the stringers, and make marks on the edge positions. Determine the installation positions progressively from top to bottom. If the staircase has tread supports, adjust their height first, then drill holes and connect the supports to the treads (temporarily unfastened).
Step 2: Place the treads
Position the treads according to their numbers, working area by area. We recommend installing from top to bottom – this follows natural working posture and makes adjustment easier. Use installation clips or temporary tack welding to secure each tread in position temporarily.
Important during placement: The vertical and horizontal distances between adjacent treads must be positioned accurately according to design requirements. The vertical spacing between treads (riser height) is typically 150–250mm, and the horizontal depth (tread width) is typically 200–300mm.
Step 3: Choose and execute the fixing method
Select one of the following fixing methods based on the tread type and usage requirements.
Method A: Welding
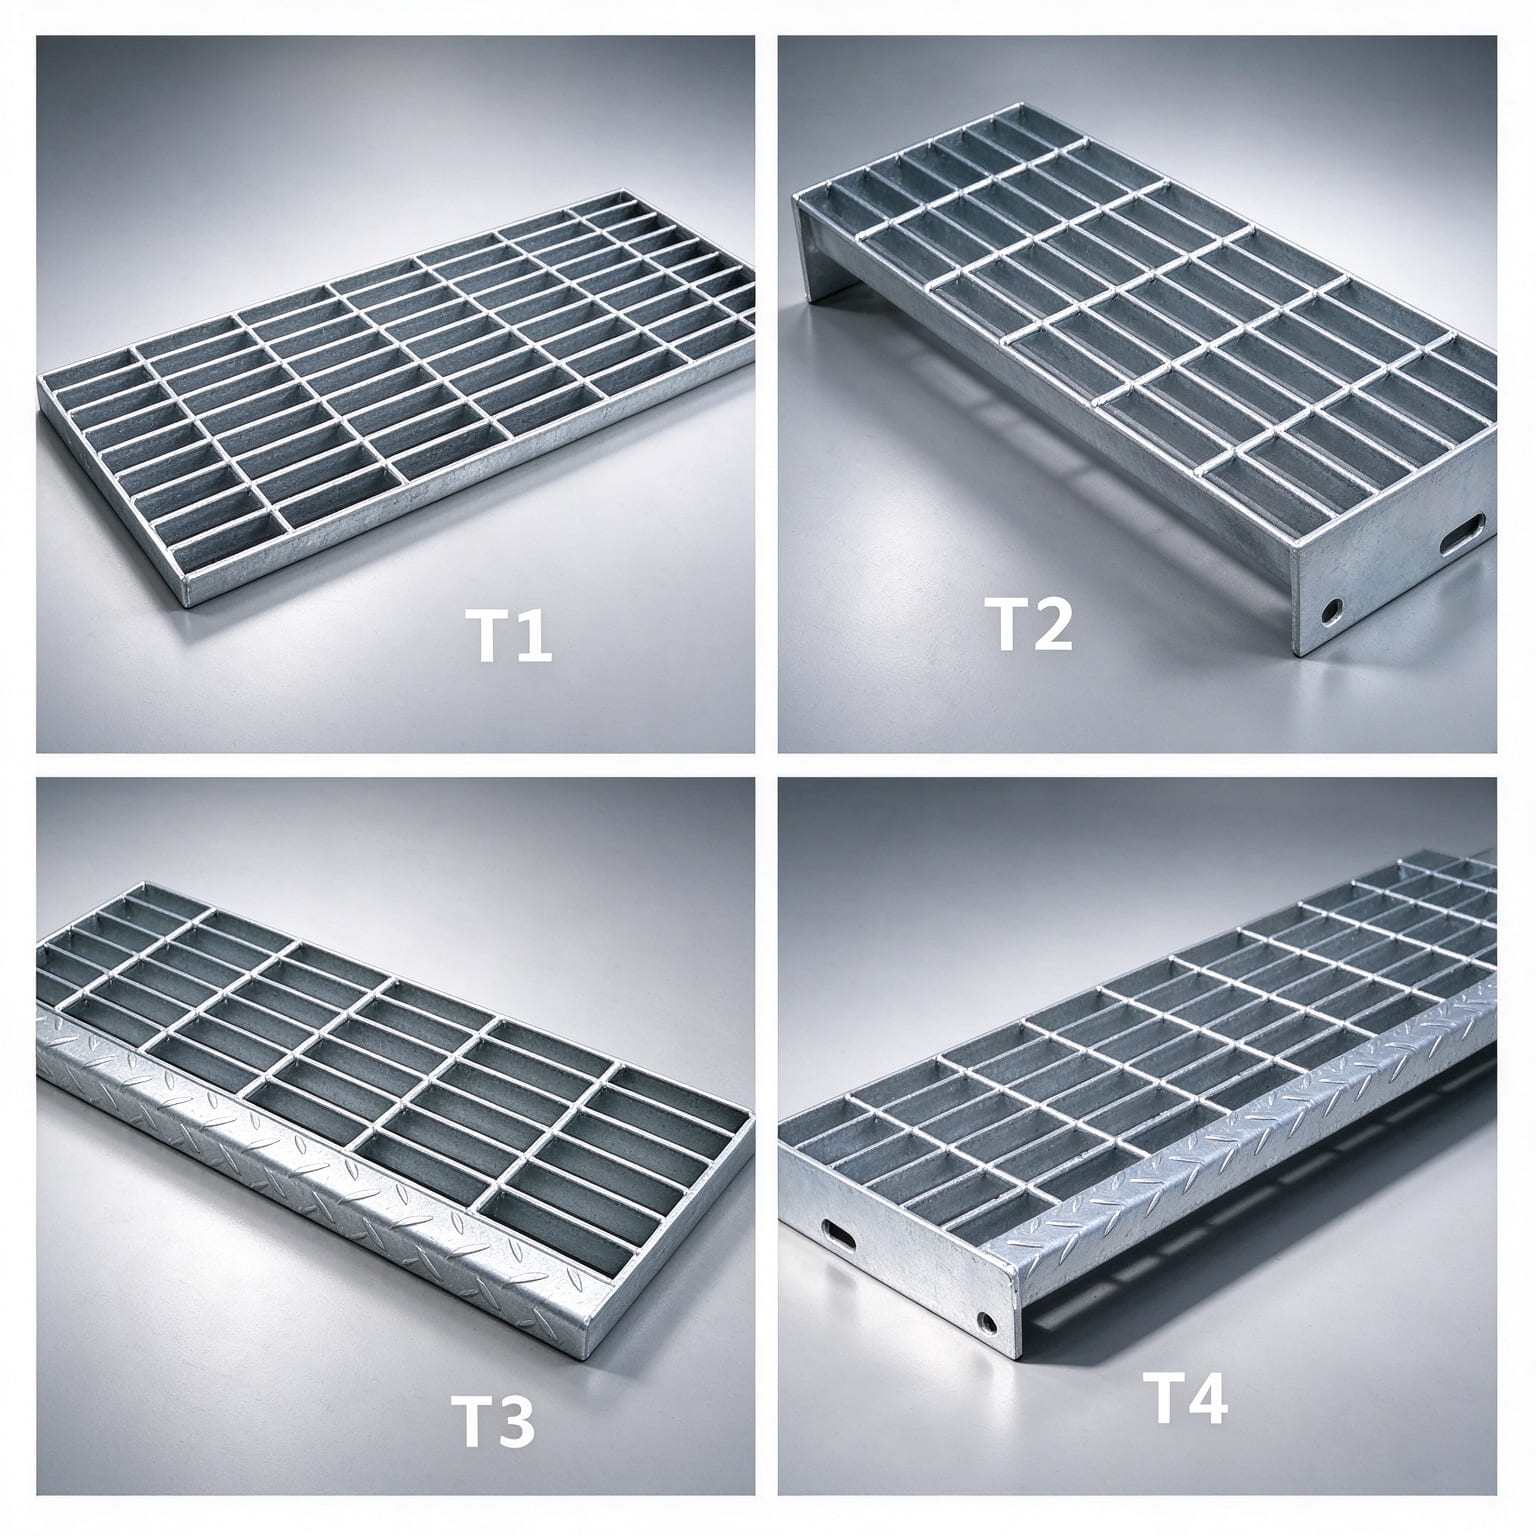
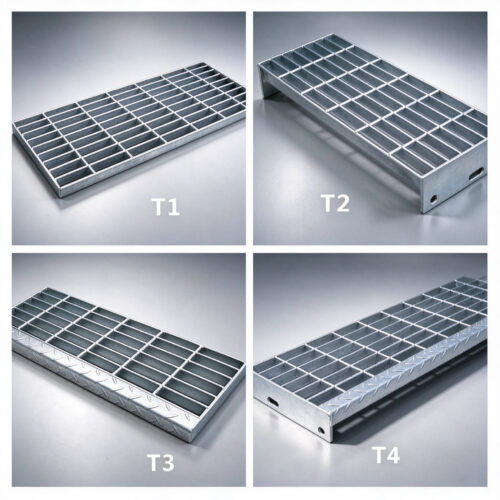
Suitable for permanent installation where disassembly is not required. Types T1 and T3 treads use welding installation.
Welding procedure:
- Clean before welding: Remove zinc coating, paint, rust, oil, and moisture from the stringer and tread surfaces
- Tack welding: Position the tread accurately on the stringer and confirm alignment
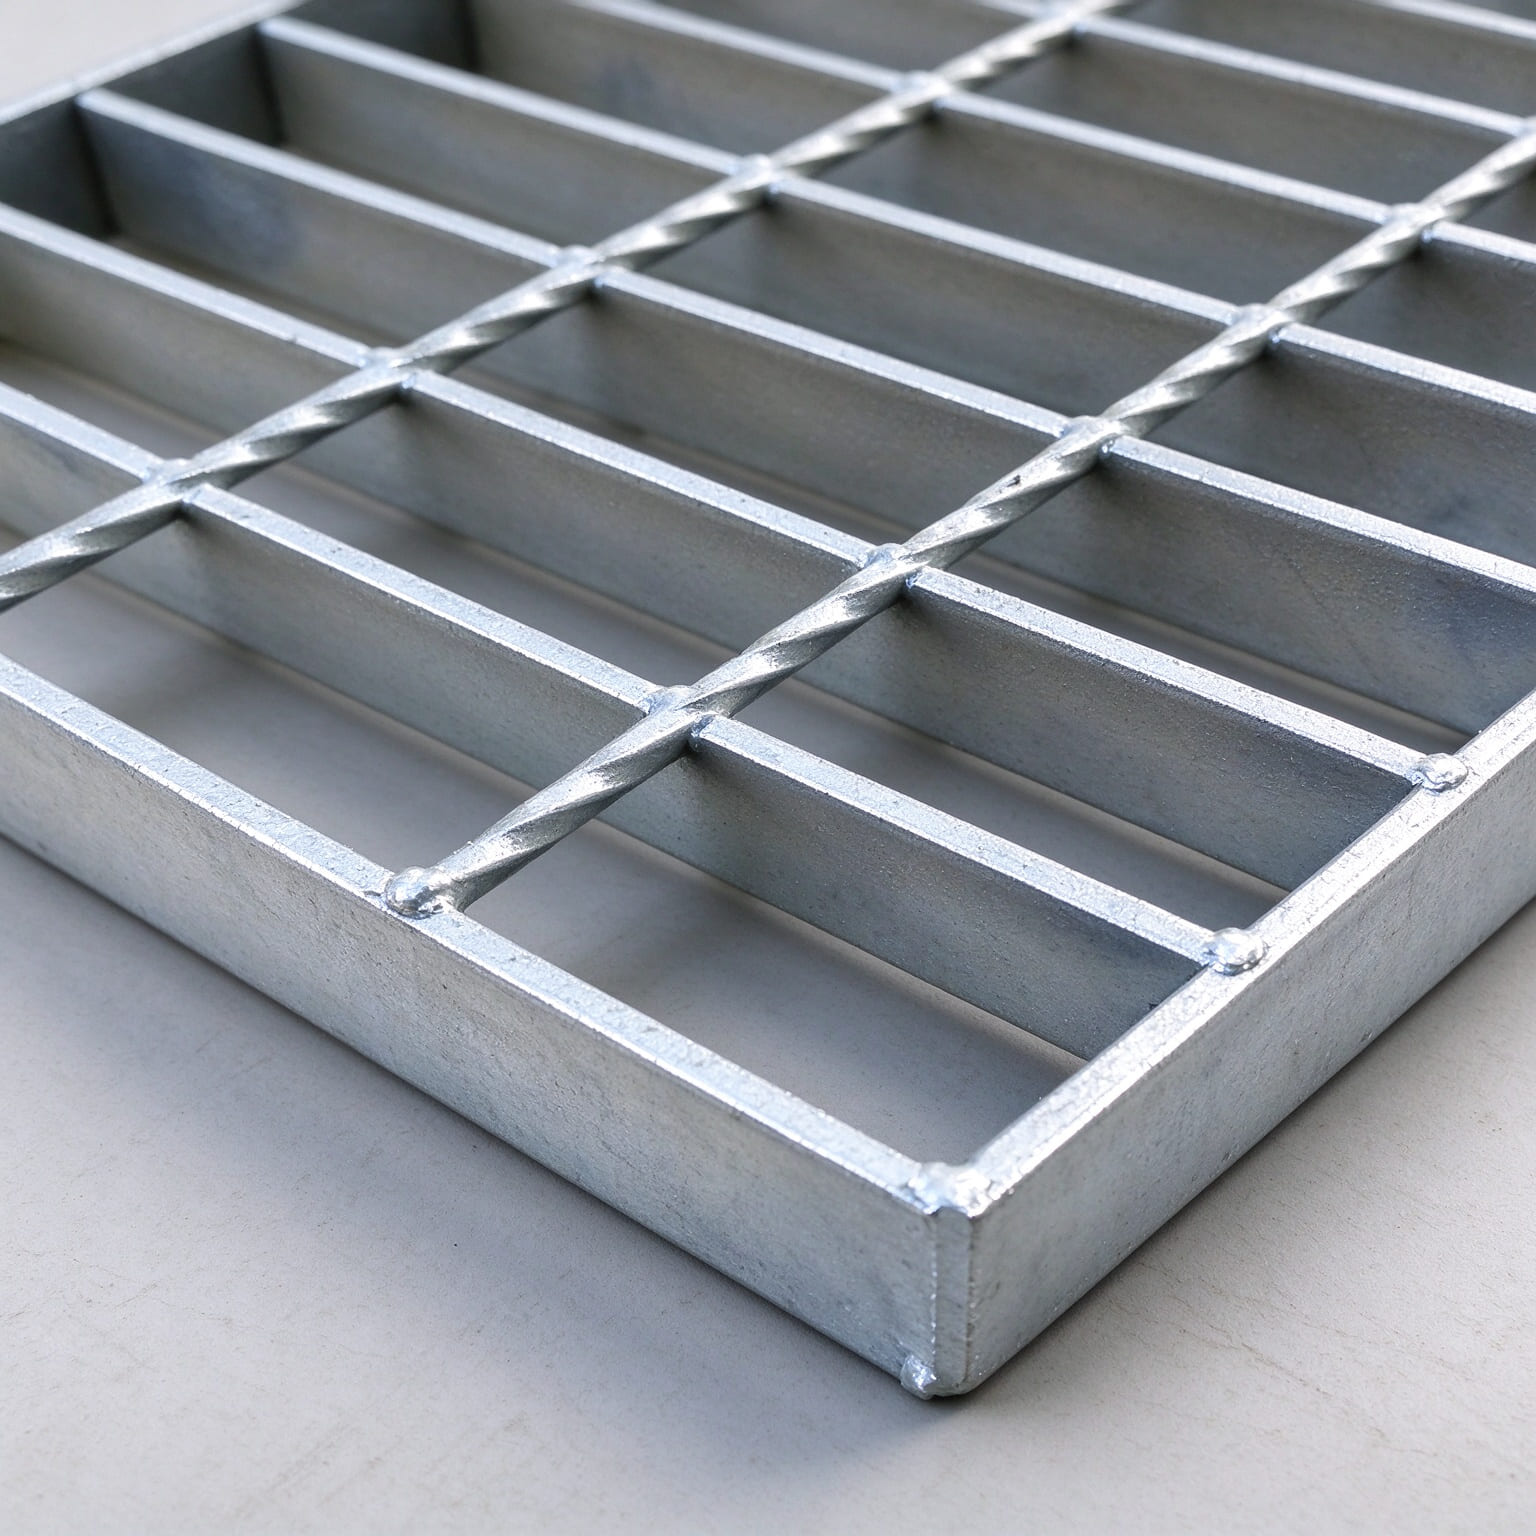
- Final welding: Apply fillet welds at the first flat bar at each corner of the tread. Weld length ≥20mm, weld height ≥3mm
- Symmetric welding: Weld alternately at both ends to prevent deformation from one-sided welding
- Edge welding: Weld continuously around the edge flat bar, with weld height ≥5mm. If a leading edge guard is present, it must run through the entire tread width and be at least 25mm wide
- Post-weld treatment: Remove slag and spatter, then apply two coats of zinc-rich paint or galvanising paint by brush
Important: Welding destroys the galvanised layer at the tread ends. The weld areas must be touched up promptly after welding, otherwise they will be the first places to rust.
Method B: Bolting
Suitable where regular maintenance disassembly or reusability is required. Types T2 and T4 treads use bolting installation.
Bolting requires side plates (typically 65×5mm flat bar edging) on both ends of the tread, with bolt holes pre-drilled. Bolt size must be M10 or larger.
Installation procedure:
- Position the tread accurately on the stringer and align with the installation marks
- Pass bolts through the holes in the side plates and connect to the stringers
- Tighten the nuts from underneath
- Bolted treads can be removed and reused
Method C: Installation clips (auxiliary method)
For scenarios where welding is not suitable and bolting is inconvenient, dedicated installation clips can be used. Each set includes an upper clip, lower clip, M8 round-head bolt, and nut. This method does not damage the galvanised layer and is easy to remove. Use at least four sets of clips per tread, and add more where additional support is available on longer spans.
3. Post-Installation Inspection and Acceptance
After installation is complete, conduct a thorough inspection:
3.1 Check stability
- Check whether weld points are secure and weld beads are full
- Check whether all bolts are fully tightened – none missing
- Shake each tread firmly by hand to check for looseness or displacement
3.2 Check flatness
- The height difference between adjacent treads should not exceed 2mm
- Use a spirit level to check each step; adjust any unevenness immediately
3.3 Check spacing
- Verify that vertical and horizontal distances between treads meet design requirements. Uneven spacing affects walking comfort and safety
3.4 Check corrosion protection
- Check that all weld points and bolted connections have been treated for corrosion protection
- Check that weld areas have been coated with zinc-rich paint
- Check that bolts are galvanised or stainless steel
3.5 Check slip resistance
- If a leading edge guard (anti-slip nosing) is specified, check that it runs through the entire tread width and is at least 25mm wide
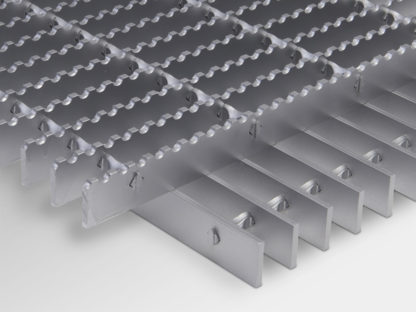
- Check that serrations on serrated flat bars are clean and intact
4. Common Installation Mistakes and Precautions
- ❌ Installing on uneven stringers – This leaves treads unsupported or unevenly loaded. Over time, they will deform or even fracture. The stringers must be levelled using a spirit level before installation.
- ❌ Not cleaning surfaces before welding – Zinc coating, paint, or oil residues affect weld quality and strength. Surfaces must be thoroughly cleaned before welding.
- ❌ Not touching up after welding – Welding destroys the galvanised layer. Failure to touch up promptly will cause rust to start from the weld points. Always apply zinc-rich paint after welding.
- ❌ Using undersized bolts – Bolts that are too thin or of substandard material may fracture over time. Bolt size must be M10 or larger.
- ❌ Leading edge guard not continuous – If the leading edge guard is only welded in sections rather than running through the entire tread, slip resistance is significantly compromised. The guard must run the full width of the tread.
- ❌ Installing in the wrong order – Failing to install from top to bottom may result in misalignment on the final steps. Always work from top to bottom.
5. Installation Points for Different Tread Types
According to standard YB/T 4001.3-2020, steel grating stair treads come in four main types, each with different installation requirements:
| Type | Installation Method | Edging | Leading Edge Guard |
|---|---|---|---|
| T1 | Welding | Flat bar same size as load bars | No |
| T2 | Bolting | 65×5mm flat bar with pre-drilled holes | No |
| T3 | Welding | Flat bar same size as load bars | Yes |
| T4 | Bolting | 65×5mm flat bar with pre-drilled holes | Yes |
Selection guide:
- Permanent installation, no disassembly required → choose T1 or T3 (welding)
- Regular maintenance or reusability needed → choose T2 or T4 (bolting)
- High slip-resistance requirement (wet, oily environments) → choose T3 or T4 (with leading edge guard)
- Budget-constrained, dry environment → choose T1 or T2 (without leading edge guard)
6. Summary
Installing steel grating stair treads comes down to three things:
- Preparation done right – verify drawings, inspect stringers, prepare tools
- Fixing method chosen correctly – welding for permanent installation, bolting where maintenance is needed
- Corrosion protection done thoroughly – touch up weld areas promptly, use galvanised or stainless steel bolts
Installation is not complicated, but every detail affects future safety and service life. Follow the specifications carefully – install it right once, and it will serve you well for years.
Our service: Each shipment of steel grating stair treads can be accompanied by detailed installation instructions in both Chinese and English. For large projects, we provide remote video guidance. If you have special installation requirements, please feel free to ask.
Ready to order or need a quote? We can provide a custom quote based on your size, material, and quantity.